
 Sign Out


These instructions show step by step directions on how to prepare and give an injection.
Storage Information: Store your Abrilada pen in the refrigerator at 36°F to 46°F (2°C to 8°C).
Store Abrilada pen in the original carton until use to protect from light.
Do not freeze Abrilada. Do not use Abrilada if frozen, even if it has been thawed.
Refrigerated Abrilada may be used until the expiration date printed on the Abrilada carton or pen. Do not use Abrilada after the expiration date.
If needed, for example when you are traveling, you may also store Abrilada at room temperature up to 86°F (30°C) for up to 30 days. Store Abrilada in the original carton until use to protect it from light.
Throw away Abrilada if it has been kept at room temperature and not been used within 30 days.
Record the date you first remove Abrilada from the refrigerator in the spaces provided on the Abrilada pen carton.
Do not store Abrilada in extreme heat or cold.
Do not use the pen if the liquid is cloudy, discolored, or has flakes or particles in it.
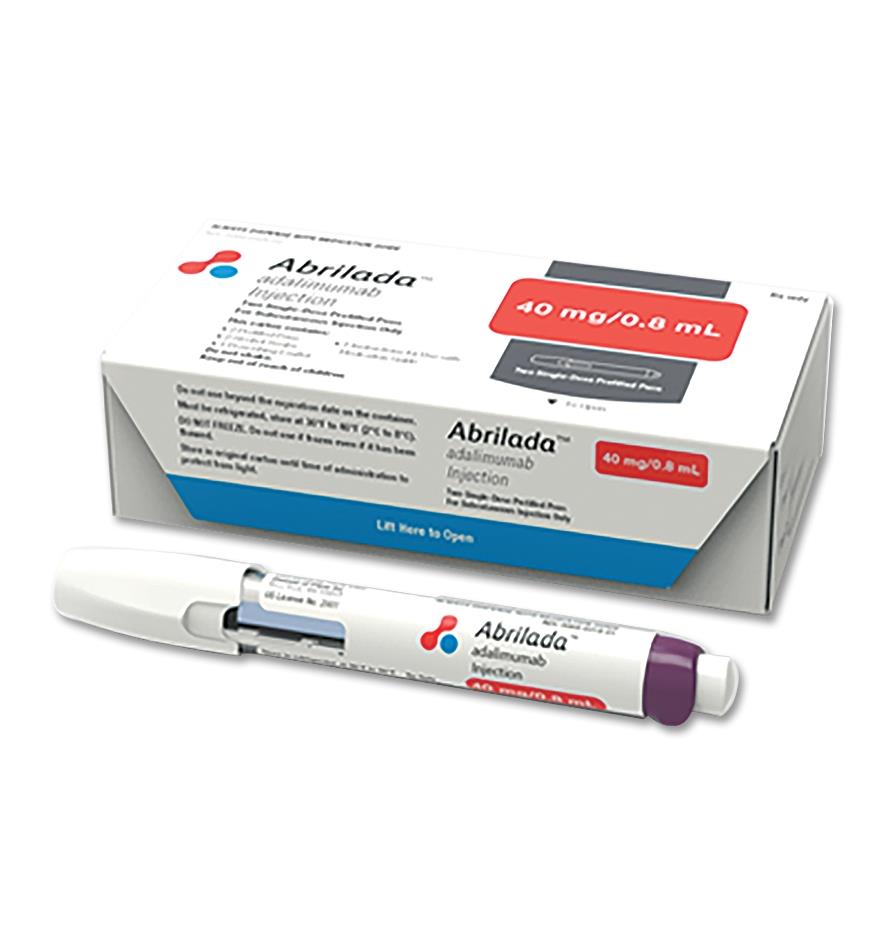
Abrilada for injection comes in a disposable (throw away) single-use pen that contains a single dose of medicine.
Abrilada for injection can be given by a patient, caregiver or healthcare provider. Do not try to inject Abrilada yourself until you are shown the right way to give the injections and read and understand the Instructions for Use. If your healthcare provider decides that you or a caregiver may be able to give your injections of Abrilada at home, you should receive training on the right way to prepare and inject Abrilada. It is important that you read, understand, and follow these instructions so that you inject Abrilada the right way.
It is important to talk to your healthcare provider to be sure you understand your Abrilada dosing instructions. To help you remember when to inject Abrilada, you can mark your calendar ahead of time. Call your healthcare provider if you or your caregiver have any questions about the right way to inject Abrilada.
Step 1. Supplies you need: You will need the following supplies for each injection of Abrilada. Find a clean, flat surface to place the supplies on: 1 Abrilada pen (included inside the carton); 1 alcohol swab (included inside the carton); 1 cotton ball or gauze pad (not included in your Abrilada carton); 1 puncture resistant sharps disposal container for pen disposal (not included in your Abrilada carton). See Step 10 "Dispose of used pen" as follows.
Step 2. Getting ready: Remove the Abrilada carton from the refrigerator.
Make sure the name Abrilada appears on the carton and prefilled pen label.
Take out 1 Abrilada pen and the alcohol swab. Keep your pen out of direct sunlight. Put the original carton with any unused pens back in the refrigerator.
Do not use your pen if: your pen or the carton containing the pen has been dropped, it has been frozen or thawed, it has been kept in direct sunlight, it appears to be damaged, the seals on a new carton are broken, it has been out of the refrigerator for more than 30 days, the expiration date has passed, the liquid is cloudy, discolored or has flakes or particles.
For a more comfortable injection, you may leave your pen at room temperature for 15 to 30 minutes before your injection.
Do not warm Abrilada in any other way (for example, do not warm it in a microwave or in hot water).
Do not shake your pen. Shaking can damage your medicine.
Wash your hands with soap and water, and dry completely.
Do not remove the cap until you are ready to inject.
Step 3. Check your medicine and expiration date: Look carefully at your medicine in the window.
Make sure the medicine in the pen is clear and colorless to very light brown and free from flakes or particles.
It is normal to see one or more air bubbles in the window.
Check the expiration date on the pen label. Do not use the pen if the expiration date has passed.
If you have any questions about your medicine, contact your healthcare provider or pharmacist.
Step 4. Choose and prepare the injection site: Choose a different injection site each time you give an injection: Only use the front of your thighs or your lower abdomen (belly). If you choose your abdomen, do not use the area 2 inches around your belly button (navel); Each new injection should be given at least one inch from a site you used before.
Do not inject into bony areas or areas on your skin that are bruised, red, sore (tender) or hard. Avoid injecting into areas with scars or stretch marks.
If you have psoriasis, do not inject directly into any raised, thick, red, or scaly skin patches or lesions on your skin.
Do not inject through your clothes.
Wipe the injection site with the alcohol swab.
Allow the injection site to dry. Do not fan or blow on the clean area.
Do not touch this area again before giving the injection.
Step 5. Remove the cap: Twist and pull off the cap.
Throw the cap away into a sharps disposal container. You will not need it again.
Important: Handle your pen with care to avoid an accidental needle stick injury.
Note: A needle cover stays inside the cap after cap removal.
Step 6. Insert the needle, push down: Push your pen firmly against the skin at 90 degrees.
Note: The needle goes into the skin as you push your pen down. You will only be able to press down the injection button in Step 7 when you are pushing down firmly enough.
Keep your pen pushed against the skin until Step 9.
Step 7. Inject your medicine, press, keep holding, wait, hold for 5 more seconds: Press the injection button all the way down and you will hear a click. The click means the start of the injection.
Keep holding your pen firmly against the skin while the orange bar moves across the window. You will hear a 2nd click.
Wait for at least 5 more seconds after the 2nd click to make sure you get the full dose of medicine.
Note: If you cannot press down the injection button, it is because you are not pushing the pen down firmly enough at the injection site.
Step 8. Check the window: You should see an orange bar in the window.
Do not remove your pen until you have waited at least 5 seconds after the 2nd click and until the orange bar completely fills the window.
Step 9. Remove the pen: Remove your pen from the skin.
Note: After you remove your pen from the skin, the needle will be automatically covered.
If the window has not turned orange, this means you have not received a full dose. Call your healthcare provider or pharmacist right away.
Do not inject another dose.
Step 10. Dispose of used pen: Put your used pen in a sharps disposal container right away after use. Do not throw away (dispose of) pens in your household trash.
If you do not have a sharps disposal container, you may use a household container that is: made of heavy duty plastic, can be closed with a tight-fitting, puncture-resistant lid, without sharps being able to come out, upright and stable during use, leak-resistant, and is properly labeled to warn of hazardous waste inside the container.
Do not dispose of your used sharps disposal container in your household trash unless your community guidelines permit this. Do not recycle your used sharps disposal container.
Step 11. After your injection: Look closely at your injection site. If there is blood, use a clean cotton ball or gauze pad to press lightly on the injection area for a few seconds.
Do not rub the injection site.
Note: Store any unused pens in the refrigerator in the original carton.


UserName
Profession Email
Profession Email