
 Sign Out


Special precautions for disposal and other handling: Before administration, the solution should be inspected visually. The solution should not be injected if it is cloudy, distinctly yellow or contains flakes or particles.
Pre-filled pen: To avoid discomfort at the site of injection, the pre-filled pen(s) should be left to stand at room temperature (up to 25°C) for at least 30 minutes before injecting. It should also be protected from direct sunlight. The entire contents of the pre-filled pen(s) must be injected. The pen(s) must not be warmed by using a heat source such as hot water or microwave and must not be shaken.
Any unused medicinal product or waste material should be disposed of in accordance with local requirements.
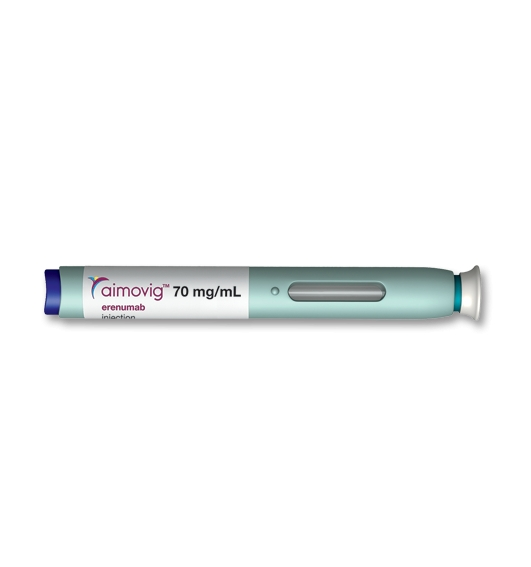
Instructions for use of Aimovig pre-filled pens: Step 1: Prepare.
Note: The prescribed dose of Aimovig is either 70 mg or 140 mg. This means that for the 70 mg dose, the contents of one 70 mg single-use pen must be injected. For the 140 mg dose, the contents of either one 140 mg single-use pen or two 70 mg single-use pens, one after the other, must be injected.
(A) Carefully lift Aimovig pre-filled pen(s) out of the carton. Either one or two pens may be needed to be used based on the prescribed dose. Do not shake.
To avoid discomfort at the site of injection, leave the pen(s) at room temperature for at least 30 minutes before injecting.
Note: Do not try to warm the pen(s) by using a heat source such as hot water or microwave.
(B) Inspect the pen(s). Make sure the solution seen in the window is clear and colourless to light yellow.
Note: Do not use the pen(s) if any part appears cracked or broken. Do not use any pen that has been dropped. Do not use the pen if the cap is missing or is not securely attached.
In all cases described previously, use a new pen, and contact the doctor or pharmacist if unsure.
(C) Gather all materials needed for the injection(s).
Wash hands thoroughly with soap and water.
On a clean, well-lit work surface, place the: New pen(s), Alcohol wipe(s), Cotton ball(s) or gauze pad(s), Adhesive plaster(s), Sharps disposal container.
(D) Prepare and clean the injection site(s).
Only use the following injection sites: Thigh, Stomach area (abdomen) (except for a 5 cm area around the navel), Outer area of upper arm (only if someone else is giving the injection).
Clean the injection site with an alcohol wipe and let the skin dry.
Choose a different site for each injection. If the same injection site needs to be used, just make sure it is not the same spot on that site used last time.
Note: After the area has been cleaned, do not touch it again before injecting. Do not choose an area where the skin is tender, bruised, red, or hard. Avoid injecting into areas with scars or stretch marks.
Step 2: Get ready.
(E) Pull the cap straight off, only when ready to inject. The injection must be administered within 5 minutes. It is normal to see a drop of liquid at the end of the needle or safety guard.
Note: Do not leave the cap off for more than 5 minutes. This can dry out the medicine. Do not twist or bend the cap. Do not put the cap back onto the pen once it has been removed. Do not put the fingers into the safety guard.
(F) Create a firm surface at the selected injection site (thigh, stomach, or outer areas of the upper arm), by using either the Stretch method or the Pinch method.
Stretch method: Stretch skin firmly by moving the thumb and fingers in opposite directions, creating an area about five cm wide.
Pinch method: Pinch skin firmly between the thumb and fingers, creating an area about five cm wide.
Note: It is important to keep skin stretched or pinched while injecting.
Step 3: Inject.
(G) Keep holding the stretched/pinched skin. With the cap off, put the safety guard of the pen on the skin at an angle of 90 degrees. The needle is inside the safety guard.
Note: Do not touch the start button yet.
(H) Firmly push the pen down onto the skin until it stops moving.
Note: Push all the way down but do not touch the start button until ready to inject.
(I) Press the start button. A click will be heard.
(J) Remove the thumb from the button, but keep pushing down on the skin. The injection could take about 15 seconds.
Note: When the injection is completed, the window will turn from clear to yellow and a second click may be heard.
Note: After the pen is removed from the skin, the needle will automatically be covered by the safety guard. When the pen is removed, if the window has not turned yellow, or if it looks like the medicine is still injecting, this means a full dose has not been received. Contact the doctor immediately.
Step 4: Finish.
(K) Discard the used pen and the cap.
Put the used pen in a sharps disposal container immediately after use. Talk to the doctor or pharmacist about proper disposal. There may be local regulations for disposal.
Note: Do not reuse the pen. Do not recycle the pen or sharps disposal container.
(L) Examine the injection site.
If there is any blood on the skin, press a cotton ball or gauze pad onto the injection site. Do not rub the injection site. Apply an adhesive plaster if needed.
If the dose is 140 mg and two Aimovig 70 mg pens are being used, repeat steps 1(D) to 4 with the second pen to inject the full dose.
Incompatibilities: In the absence of compatibility studies, this medicinal product must not be mixed with other medicinal products.


UserName
Profession Email
Profession Email